If you are working with many files or folders, you have the option to assign tags (also known as labels) to help you better distinguish and manage them. For example, if multiple people are accessing the same cloud and its contents to edit documents, they can use tags such as “in progress,” “completed,” and so on.
Create tags:
Click on the three dots belonging to the file / folder you want to add a tag / tags to.
Select Details.
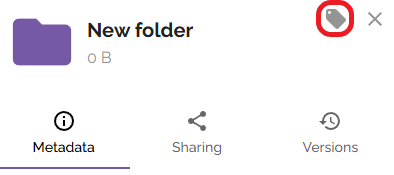
Click on the Tags Icon in the top right corner.

A text field will appear.
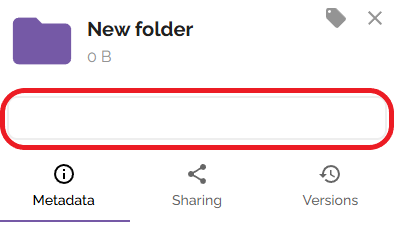
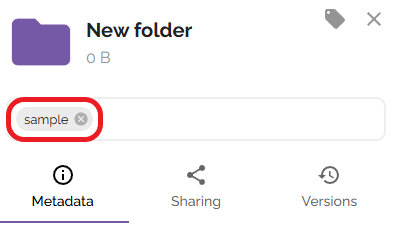
Enter the desired tag term here.
Confirm with Enter.

Go back to the home screen by clicking the X next to the tags icon.
You can now find all the tags you have created in the tags category.
Apply tags:
After you have created tags, you are able to apply them to any file / folder.
Click on the three dots belonging to the file / folder you want to add a tag / tags to.
Select Details.
Click on the Tags Icon in the top right corner.
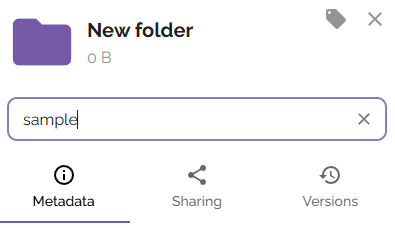
Click on the text field.

If you have already created a tag, it should appear as a suggestion.

If you want to create a new tag, type it in the text field and press Enter.
Delete tags:
If you have tags that you want to delete, select the Hamburger Icon in the top left corner.
Select Tags and search for the tag you want to delete.
Click the Trash bin icon on the right side of your tag.
The tag will no longer appear in the tags list, but all tags will stay applied to all files / folders.
If you want to delete the tags from your files / folders too, select the file / folder and click on the three dots.
Select Details.
Click on the Tags Icon in the top right corner.

Click on the X next to the tag you want to delete.